Make Your Own Designer Fabric Decoupaged Pumpkins (And Homemade Mod Podge Recipe!)
Last Autumn I bought a couple of craft pumpkins from Michaels when they had a sale. I was excited at the prospect of painting them myself and having a couple of artistic decorative pumpkins to decorate my house with. So I bought some paint and got started, a perfect picture of glittery orange pumpkins in my imagination. If youve ever had a project fail, youll understand my disappointment at what came of all my work. Two very very VERY ugly pumpkins. I guess that glittery orange spray paint Id purchased was not a solid color and more of a gel topping. So sad! I put them on my very tall bookshelf and refused to look at them for an entire year.
Yesterday I was inspired by a decoupaged pumpkin I saw on Pinterest (and cant find now) to pull down my rejected pumpkins and try again. And Im happy with the result! So heres a quick description of how I did it.
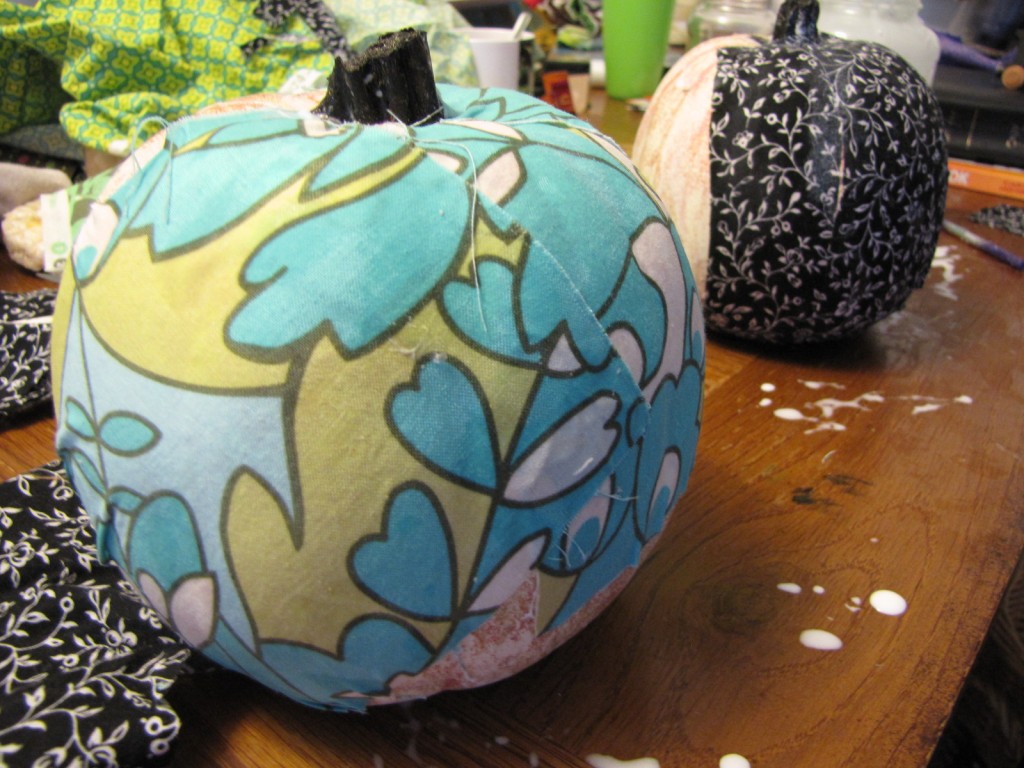
I tried a few different things, but the easiest way seems to be to cut the fabric into rectangular strips, apply mod podge to your pumpkin then smooth the fabric strip over the mod podge. Top with a coating of mod podge. This is a messy and fun process that my 3-year-old loved to help with. 🙂
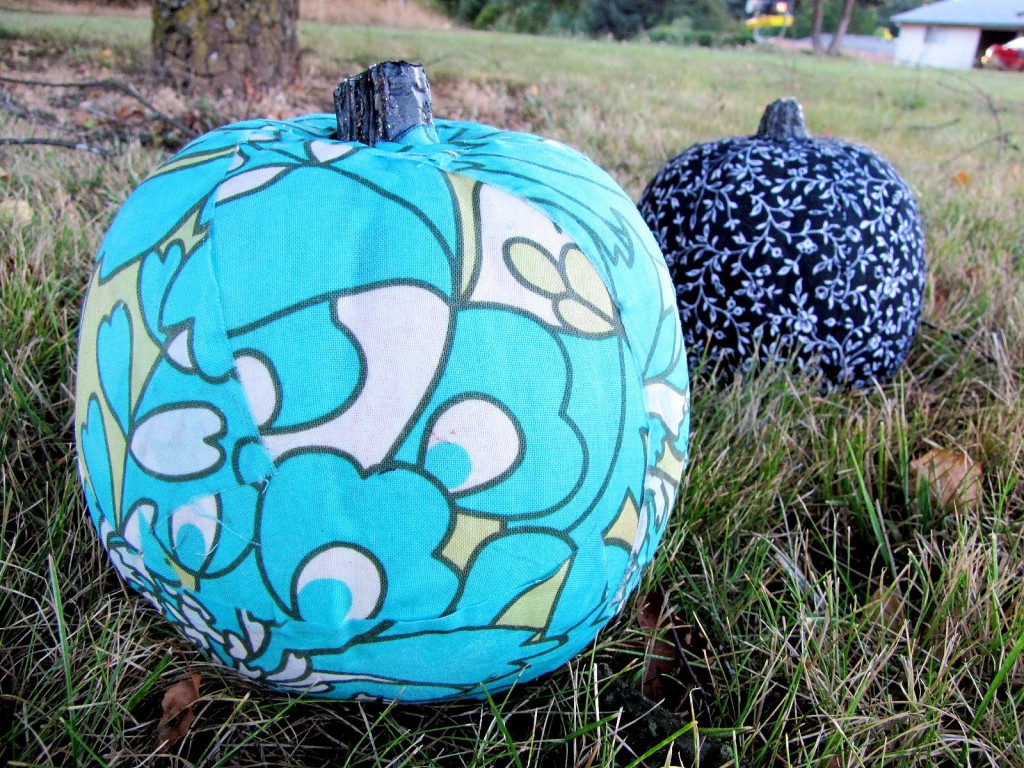
Any parts of the pumpkin that peeked out I just covered with small scraps. Once you have your pumpkins set up they look seamless and very pretty!
The blue/green combo is an Amy Butler fabric. 🙂
I find myself wandering the house looking for more things to mod podge now especially since I recently discovered how to make homemade mod podge! Its super easy, just put 1 cup Elmers glue and 1/3 cup water in a jar and shake. Much cheaper than Mod Podge. 🙂
This post shared at:
Category: Parenting


